
Should moldy shower caulk be cleaned or replaced?
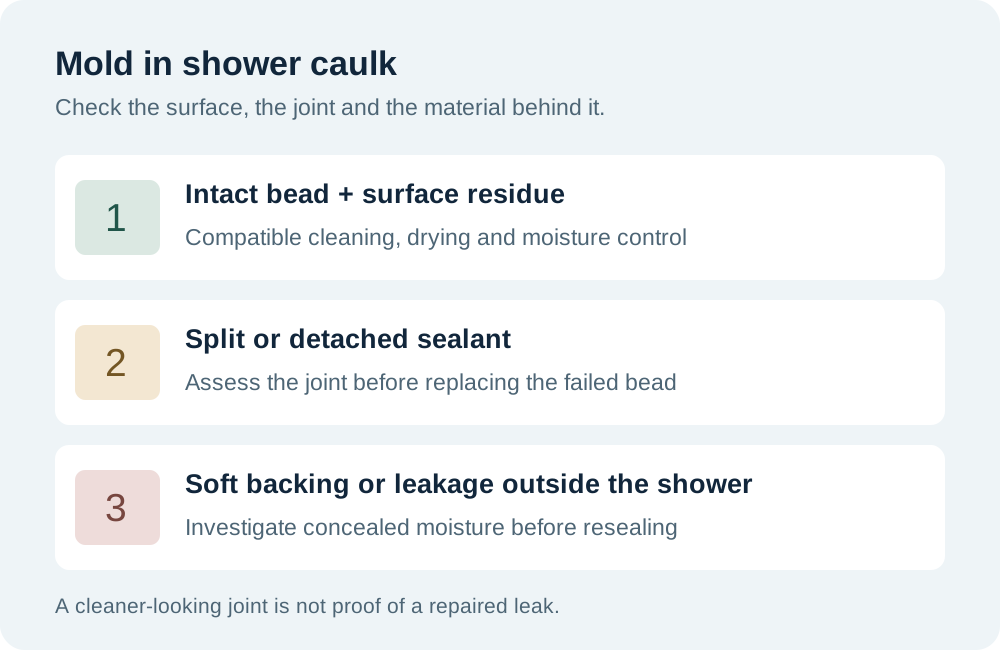
Moldy shower caulk needs cleaning when contamination is limited to a sound, accessible surface. Cracked or detached sealant needs replacement after the moisture problem is addressed. A discolored bead alone does not reveal the condition of the wall behind the shower.
Shower caulk forms a flexible joint between adjoining surfaces. Shower grout fills joints between tiles. A cleaning method suitable for glazed tile is not automatically suitable for silicone, natural stone or acrylic.
| Visible condition | Next action | What the clue does not prove |
|---|---|---|
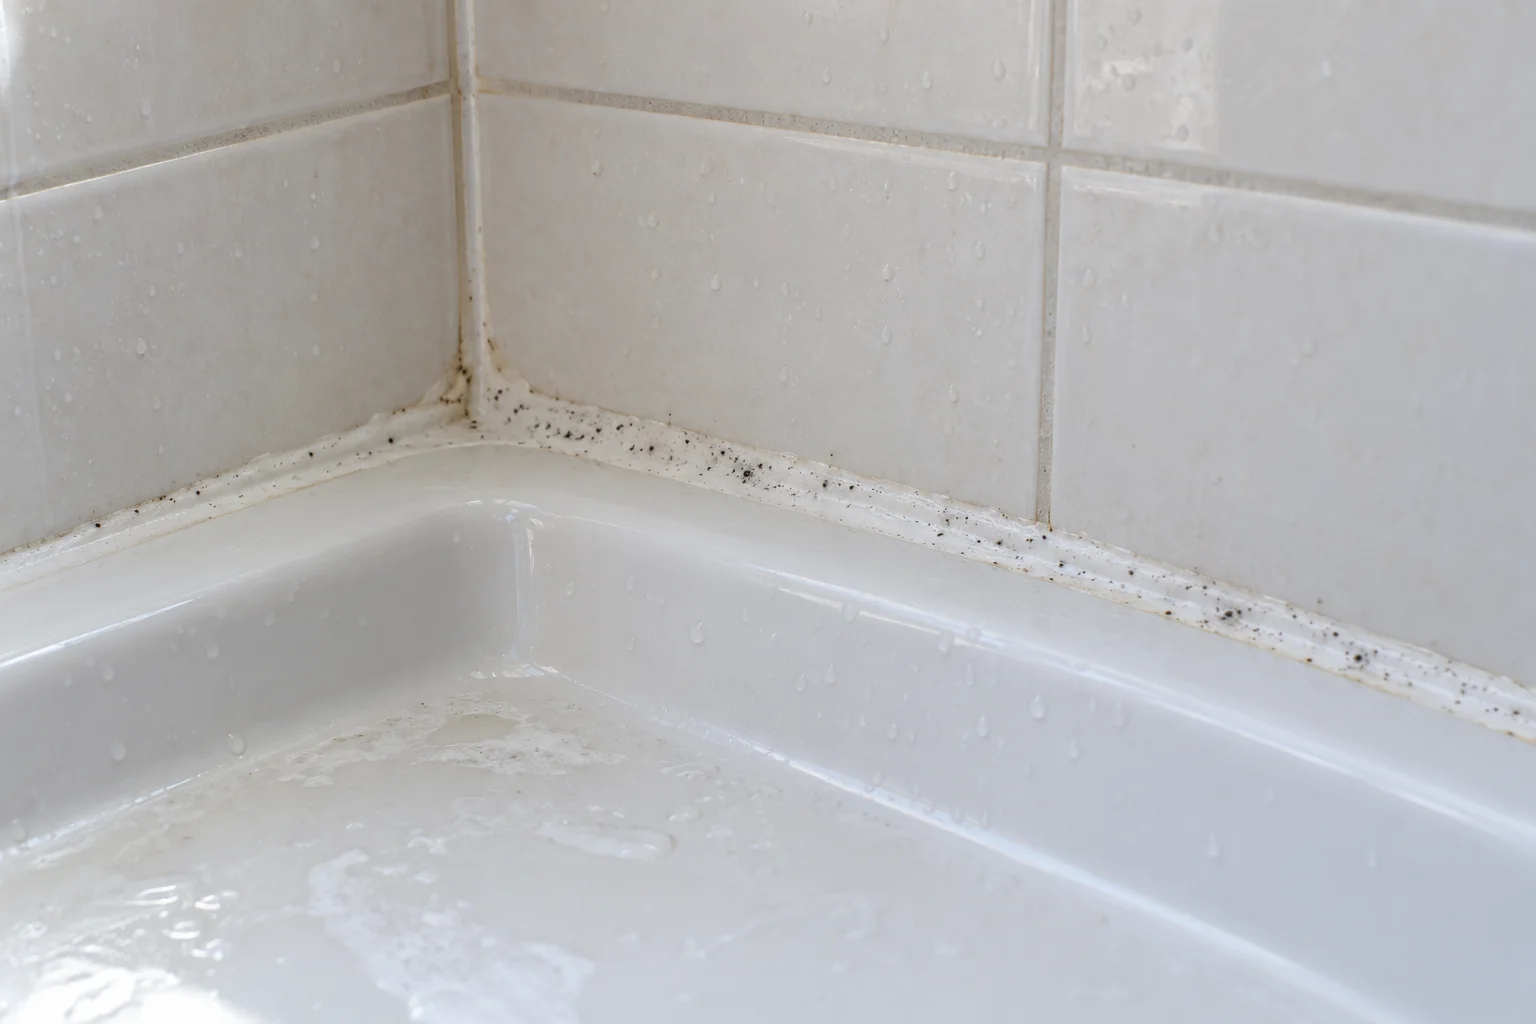
| Residue on an intact bead | Use compatible surface cleaning and dry the area | Clean-looking sealant does not confirm a dry wall cavity |
| Staining remains after cleanup | Assess the sealant condition before cosmetic replacement | Remaining color alone does not prove active growth |
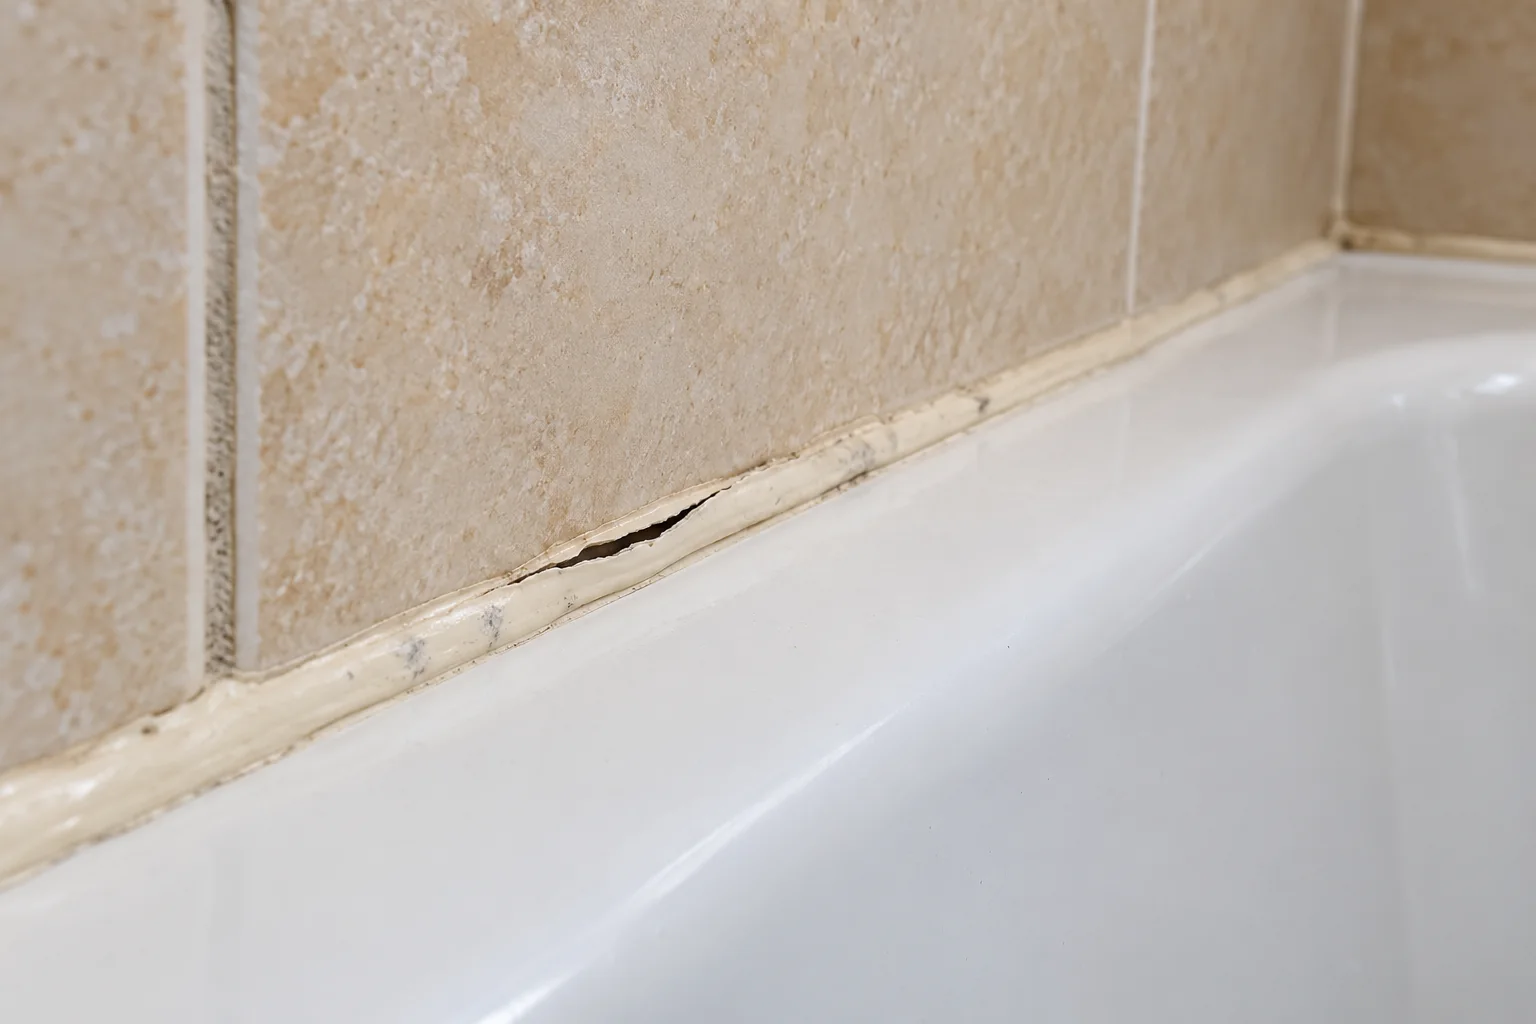
| Split or detached edge | Assess the joint and replace failed sealant after preparation | New caulk does not repair the shower waterproofing assembly |
| Loose tiles, soft backing or moisture outside the shower | Stop using the affected shower and arrange a leak assessment | The visible caulk line does not define the damage boundary |
Kitchen cabinets require a different material assessment because Mold under the kitchen sink involves plumbing connections, panel cores and concealed spaces beneath the cabinet.
Why does mold keep returning on shower caulk?
Shower caulk mold returns when moisture and surface deposits remain, or when a failed joint leaves an unresolved water path. Cleaning changes the visible surface. Cleaning does not restore adhesion to a detached sealant edge.
Bathroom moisture control needs both drying and ventilation. CDC's household mold guidance recommends indoor humidity no higher than 50% and bathroom exhaust to the outdoors. Room humidity is not a measurement of moisture behind tile.
- Standing droplets: remove excess shower water with a surface-safe squeegee after use.
- Soap deposits: maintain the sealant with a non-abrasive cleaner compatible with the surrounding finish.
- Wet storage: move bottles away from joints so trapped water can drain and surfaces can dry.
- Repeat failure: investigate the same returning patch before covering it with another bead.
Bathroom ceiling spotting has a different inspection path. A bathroom ceiling moisture assessment considers condensation, exhaust performance and leaks above the room.
How can a shower caulk joint lose its seal?
Shower sealant loses its seal when the bead splits or separates from an adjoining surface. Movement and poor adhesion need attention before replacement. A gap at the edge creates a possible water-entry route.
Shower inspections should distinguish the visible finish joint from the waterproofing behind the tile. Schluter's shower waterproofing explanation identifies tile and grout as separate from the waterproofing system. A new surface bead cannot repair a leaking pipe or damaged backing. A suspected concealed leak needs assessment before further shower use.
Sealant maintenance should follow the shower manufacturer's assembly instructions. A visible opening should not be filled solely because another shower design uses a continuous bead.
How should a small moldy shower joint be cleaned?
A small moldy shower joint needs a compatible cleaning method, removal of surface contamination and complete drying. EPA's home mold cleanup guidance describes detergent and water for hard surfaces. Mold cleanup and sealant preparation are separate steps.
Sealant bonding surfaces must be free of cleaning residue before replacement. The selected sealant's instructions determine the final preparation method. A household cleaner should never be assumed compatible with every shower finish.
Bleach is not EPA's routine recommendation for mold cleanup. EPA's biocide guidance explains that killing mold alone does not remove it. Cleaning products must never be mixed, including bleach with vinegar or ammonia.
Cleanup protection includes gloves, goggles and suitable respiratory protection under EPA guidance. A cleaner's label controls ventilation and exposure precautions. A fading stain does not establish that concealed contamination has been removed.
What needs to happen before a shower is recaulked?
Shower recaulking needs a sound, clean and dry joint after failed sealant and the underlying moisture problem have been addressed. EPA advises against applying caulk over moldy surfaces.
- Moisture repair: correct leakage and assess damaged backing before sealing.
- Old bead removal: remove failed material without damaging the tub, tile or waterproofing.
- Surface preparation: remove residue using methods approved for the sealant and substrate.
- Joint design: match sealant compatibility, bead dimensions and any backer rod to the product instructions.
- Return to use: keep the shower out of service for the product's required water-exposure interval.
Shower sealant should be rated for the actual wet-area application. A mildew-resistance claim does not eliminate surface cleaning. Dry trim caulk is not a substitute for a compatible shower sealant.
Damaged wall backing needs a drywall mold removal decision that considers the affected material beyond its painted surface. Recaulking should not conceal soft board or loose tile.
How long after recaulking can the shower be used?
GE Supreme Silicone Kitchen & Bath allows water exposure after 30 minutes under its specified conditions, or after 8 hours outside those conditions. Other shower sealants have their own waiting periods. Water readiness is different from full cure.
| Stage | Published time | Conditions and limits |
|---|---|---|
| Early water exposure | 30 minutes | Maximum 3/16-inch bead, at least 65°F and at least 50% relative humidity |
| Water exposure outside those conditions | 8 hours | Follow the current product label for the actual application |
| Touching or cleaning | 24 hours or until fully cured | Cure slows with colder temperatures or lower humidity |
GE's June 2024 technical data sheet supplies this example. The figures do not apply to every silicone or shower repair. A dry-looking skin does not establish full cure.
When does mold in shower caulk need professional assessment?
Mold in shower caulk needs professional assessment when the joint repeatedly fails, adjoining materials soften, leakage appears outside the shower or concealed growth is suspected. Significant water damage requires more than cosmetic re-sealing.
EPA describes areas under about 10 square feet as manageable by many homeowners in most cases. Contaminated water and health concerns require additional precautions. CDC notes that mold exposure can cause symptoms in some people, especially people with asthma or mold allergies. A healthcare professional should assess personal health concerns.
Gettysburg Mold Remediation Help provides free referrals for bathroom mold assessment and removal when a property needs professional help. The independent company assesses the property, prices the work and performs the service.
Gettysburg Mold Remediation Help connects homeowners through its Gettysburg mold remediation referral service with independent companies for property-specific assistance.